Upload a clear image
Choose the photograph you want to recolor. A well-lit source with visible object edges gives the AI enough context to separate the target from nearby surfaces.
Recolor one object. Keep every texture, shadow, and detail.
Upload a photo, name the object and the color you want, and let AI make a focused, photorealistic color change. No masks, brushwork, layers, or complicated color sliders.
Upload a photo, identify the object, and describe its new color.
Source image
Max 50MB
2K isn't available for this aspect ratio — choosing it switches to 1:1.
Selective recoloring
Caramel leather becomes deep teal while the bag shape, grain, stitching, gold hardware, lighting, and background stay consistent. When generation starts, this area becomes your task and result workspace.
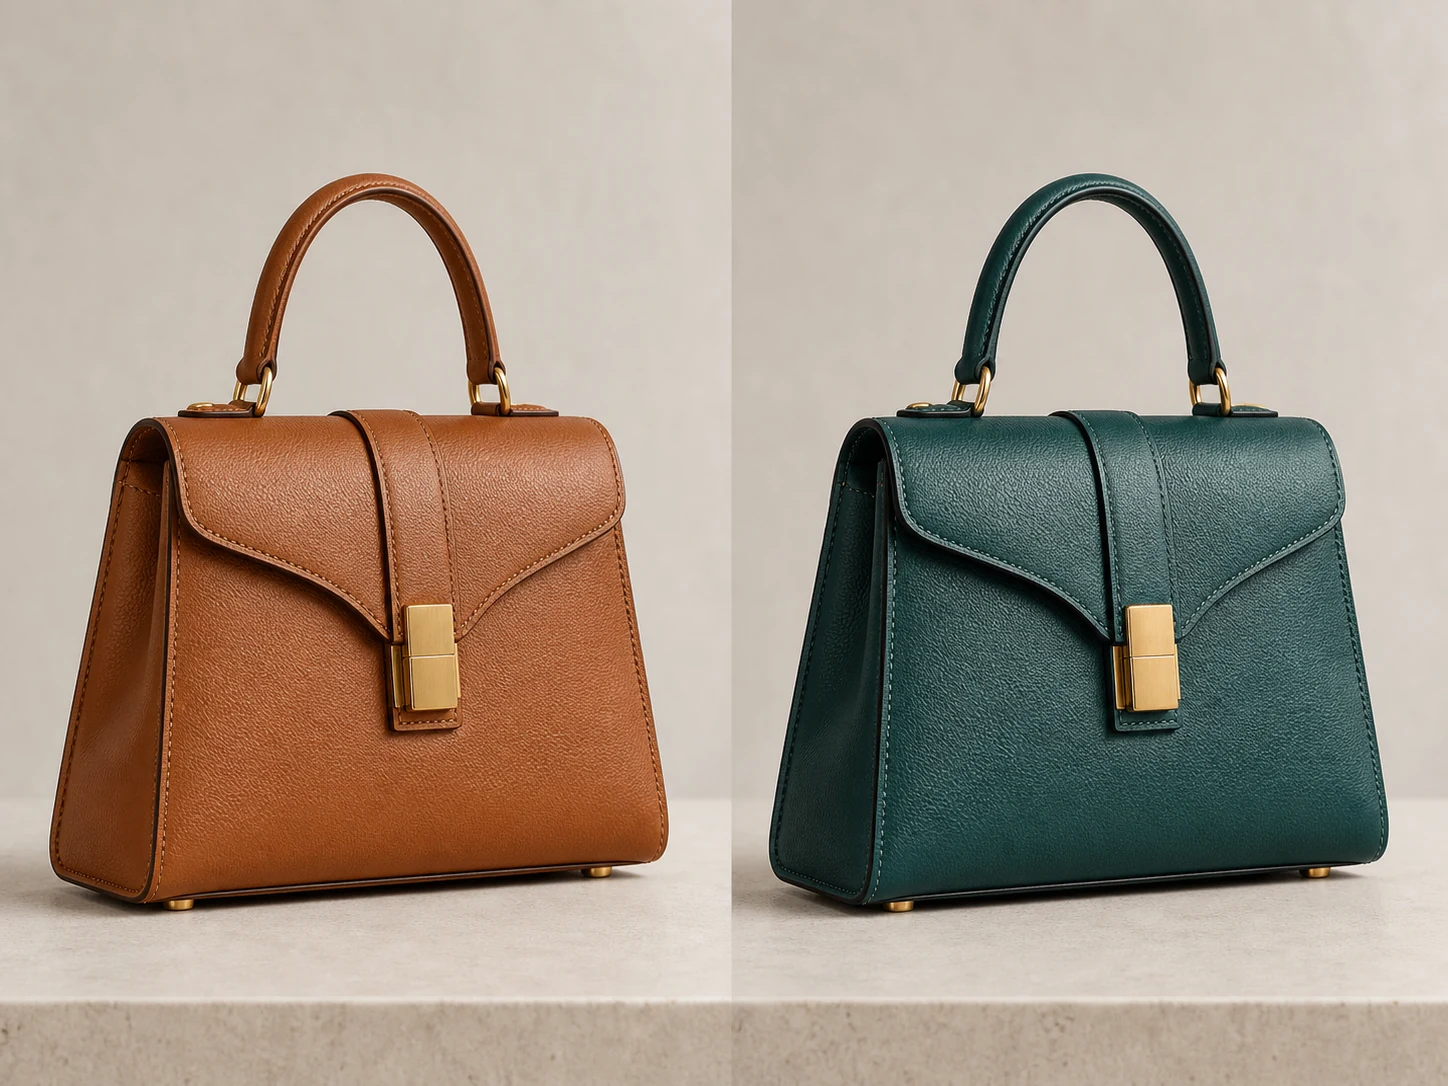 OriginalRecolored
Example instruction
“Change the caramel leather handbag to deep teal. Preserve its grain, stitching, gold hardware, light, shadow and background.”
A shorter editing path
Traditional replacement tools ask you to trace an object, tune tolerance, repair edges, and rebuild reflections. This change color of image workflow replaces that sequence with a clear instruction while still respecting the photograph.
Choose the photograph you want to recolor. A well-lit source with visible object edges gives the AI enough context to separate the target from nearby surfaces.
Write a direct prompt such as ‘change the green sofa to warm terracotta.’ Add finish, material, or exact color language when those details matter.
Compare the result, download it, or use the finished image as a new input for another controlled color variation.
Selective recoloring examples
Each example holds the camera, composition, light, and surrounding scene steady so the color decision is easy to judge. The collection covers fashion, product photography, interiors, and automotive paint—four situations where a new colorway often needs approval before a sample, purchase, or reshoot. Look beyond the obvious hue shift: seams should remain aligned, highlights should follow the same surface, shadows should retain their depth, and neighboring objects should not inherit the target color.
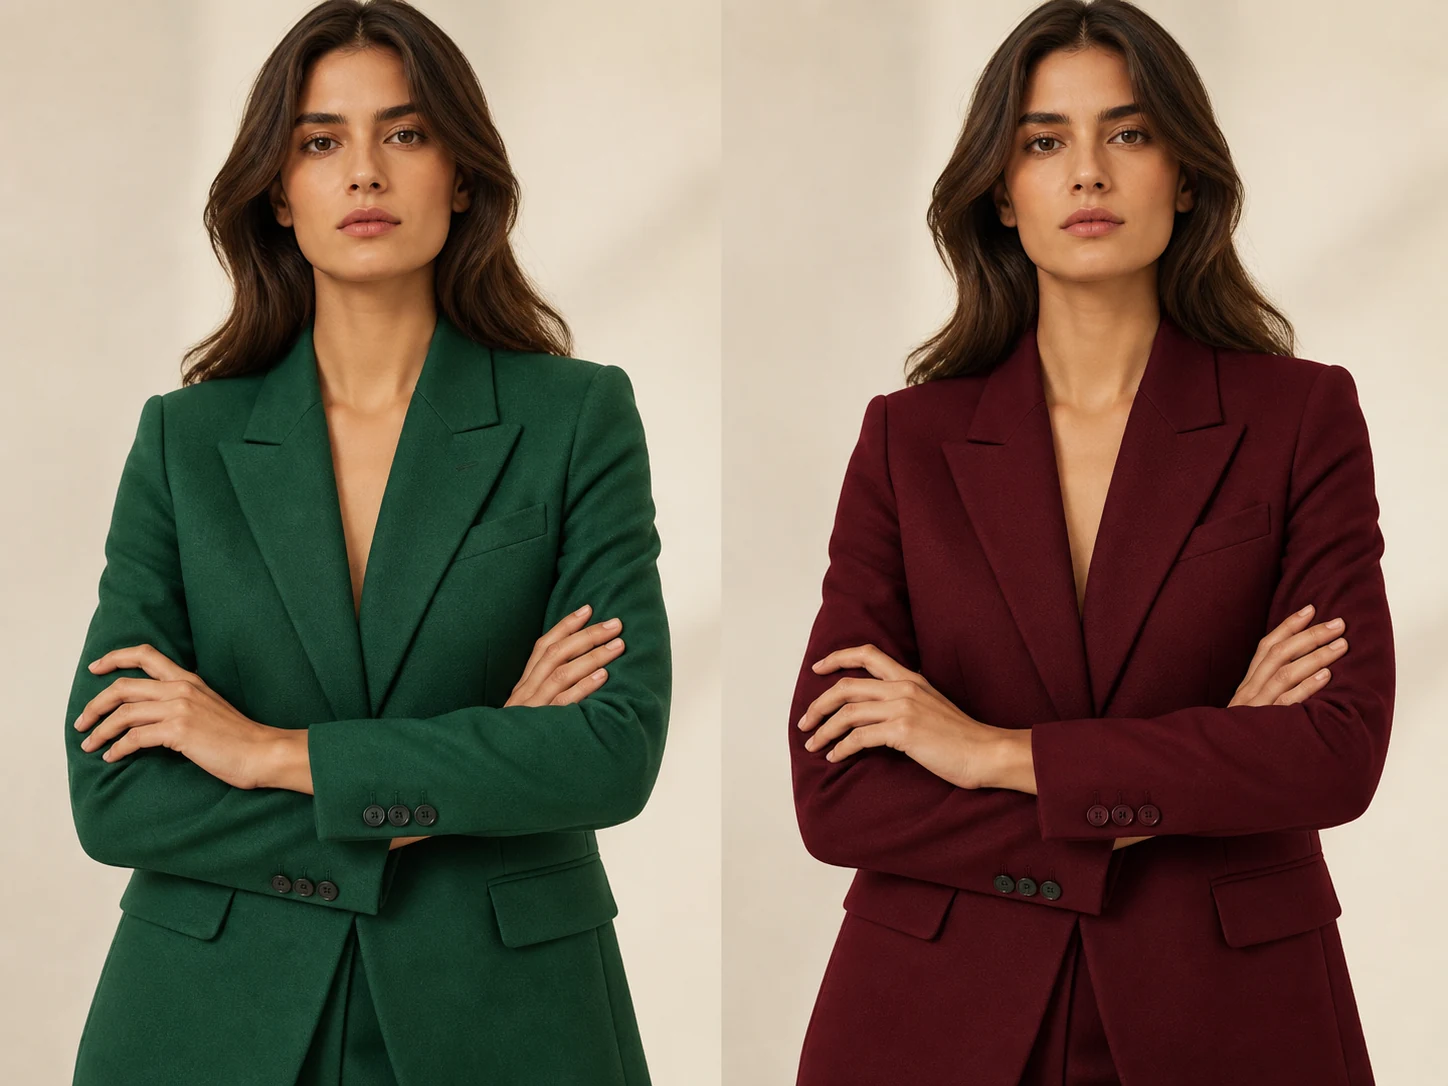
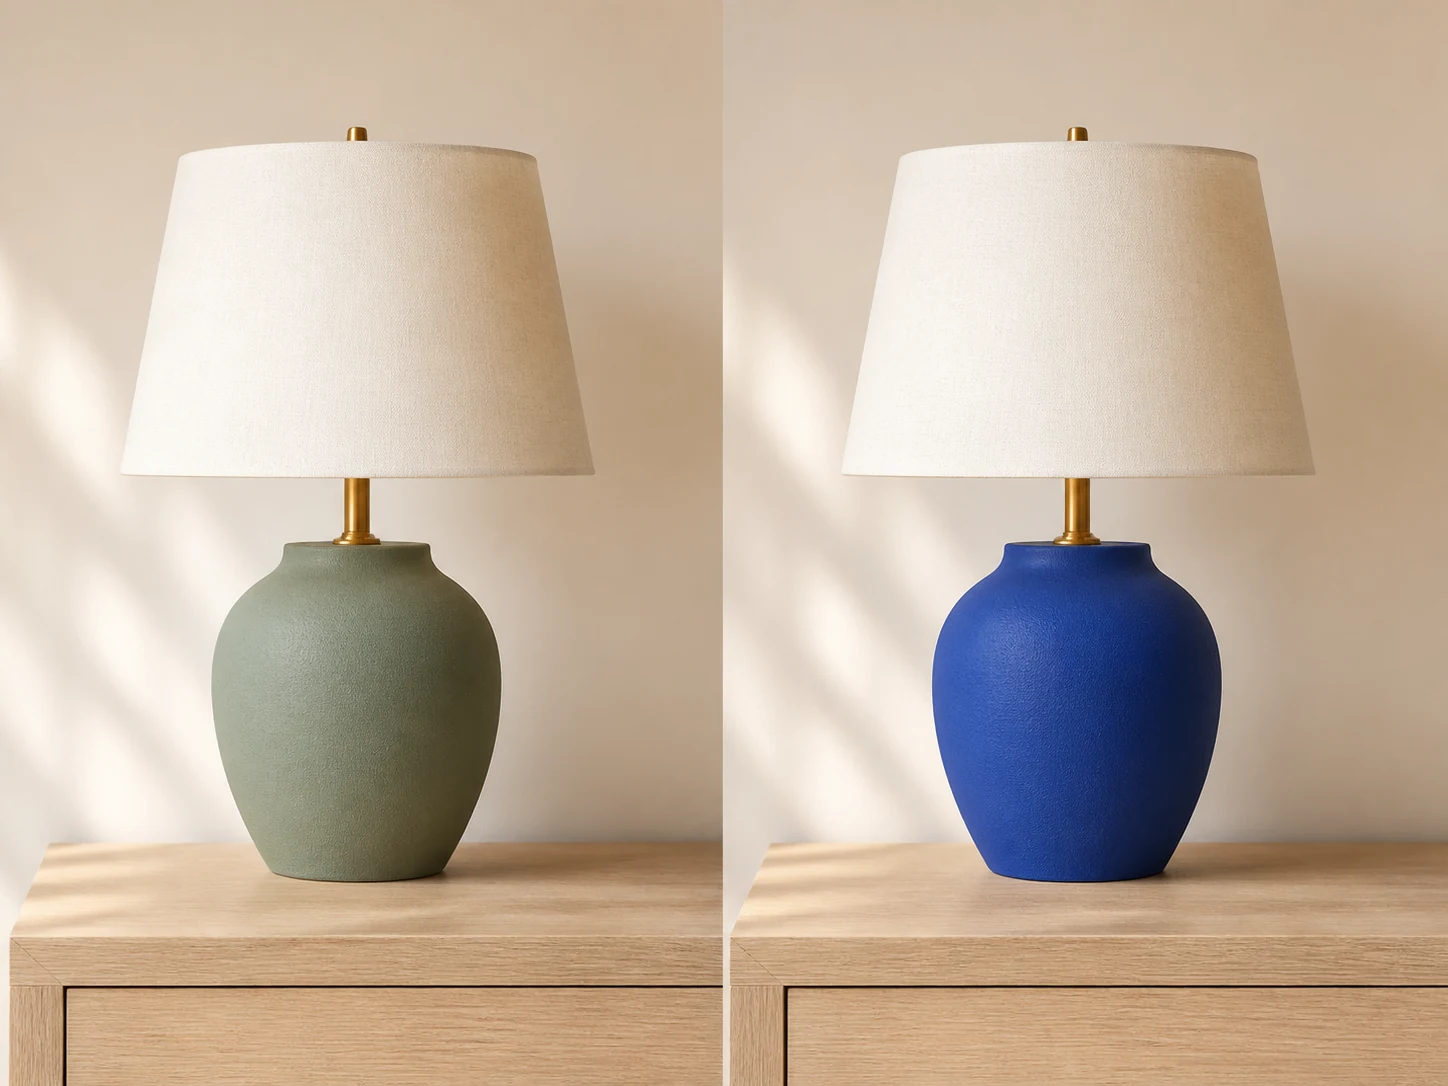
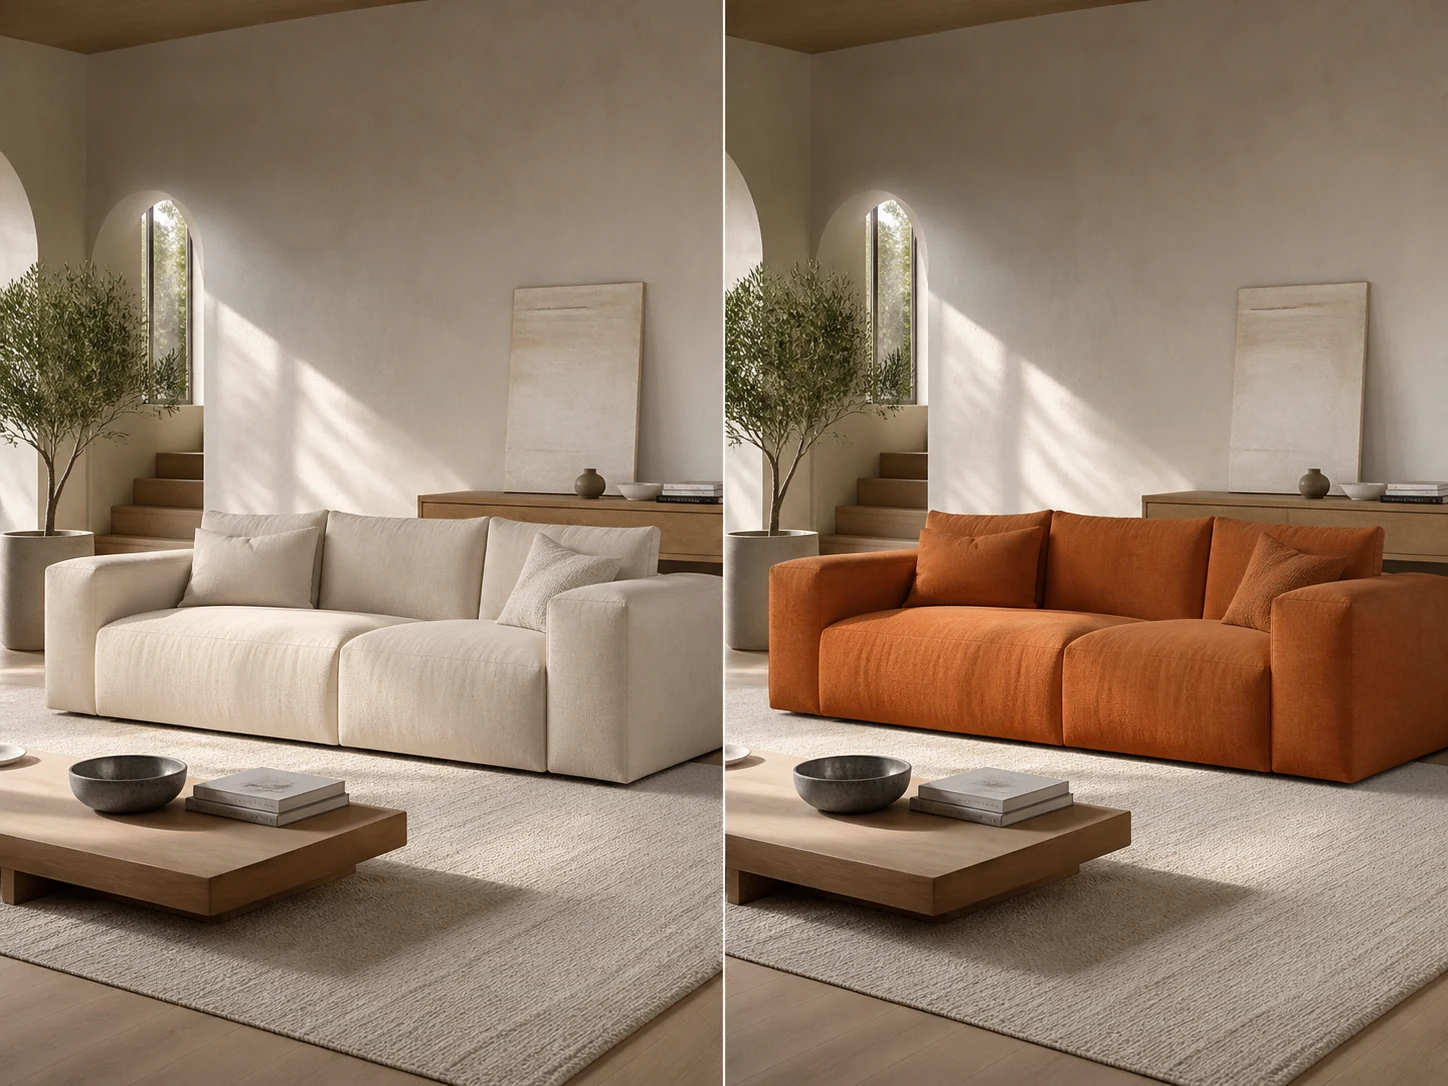
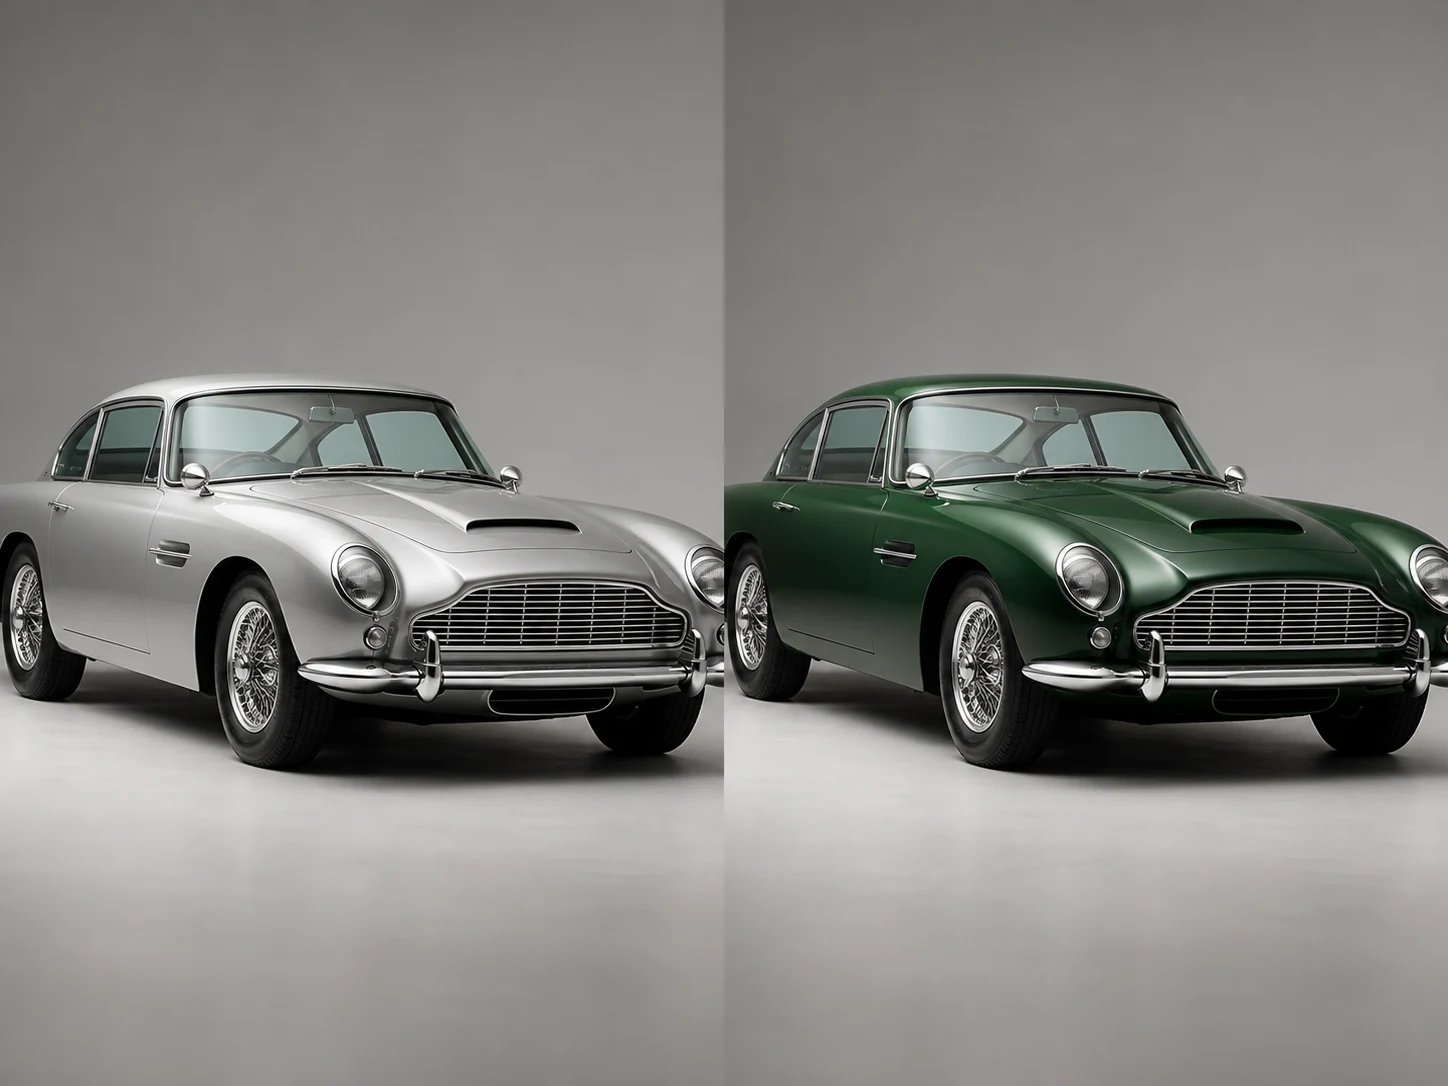
The goal is not to flood pixels with a flat tint. The AI interprets the object, its material, and the scene around it, then rebuilds the requested color so the result remains visually coherent.
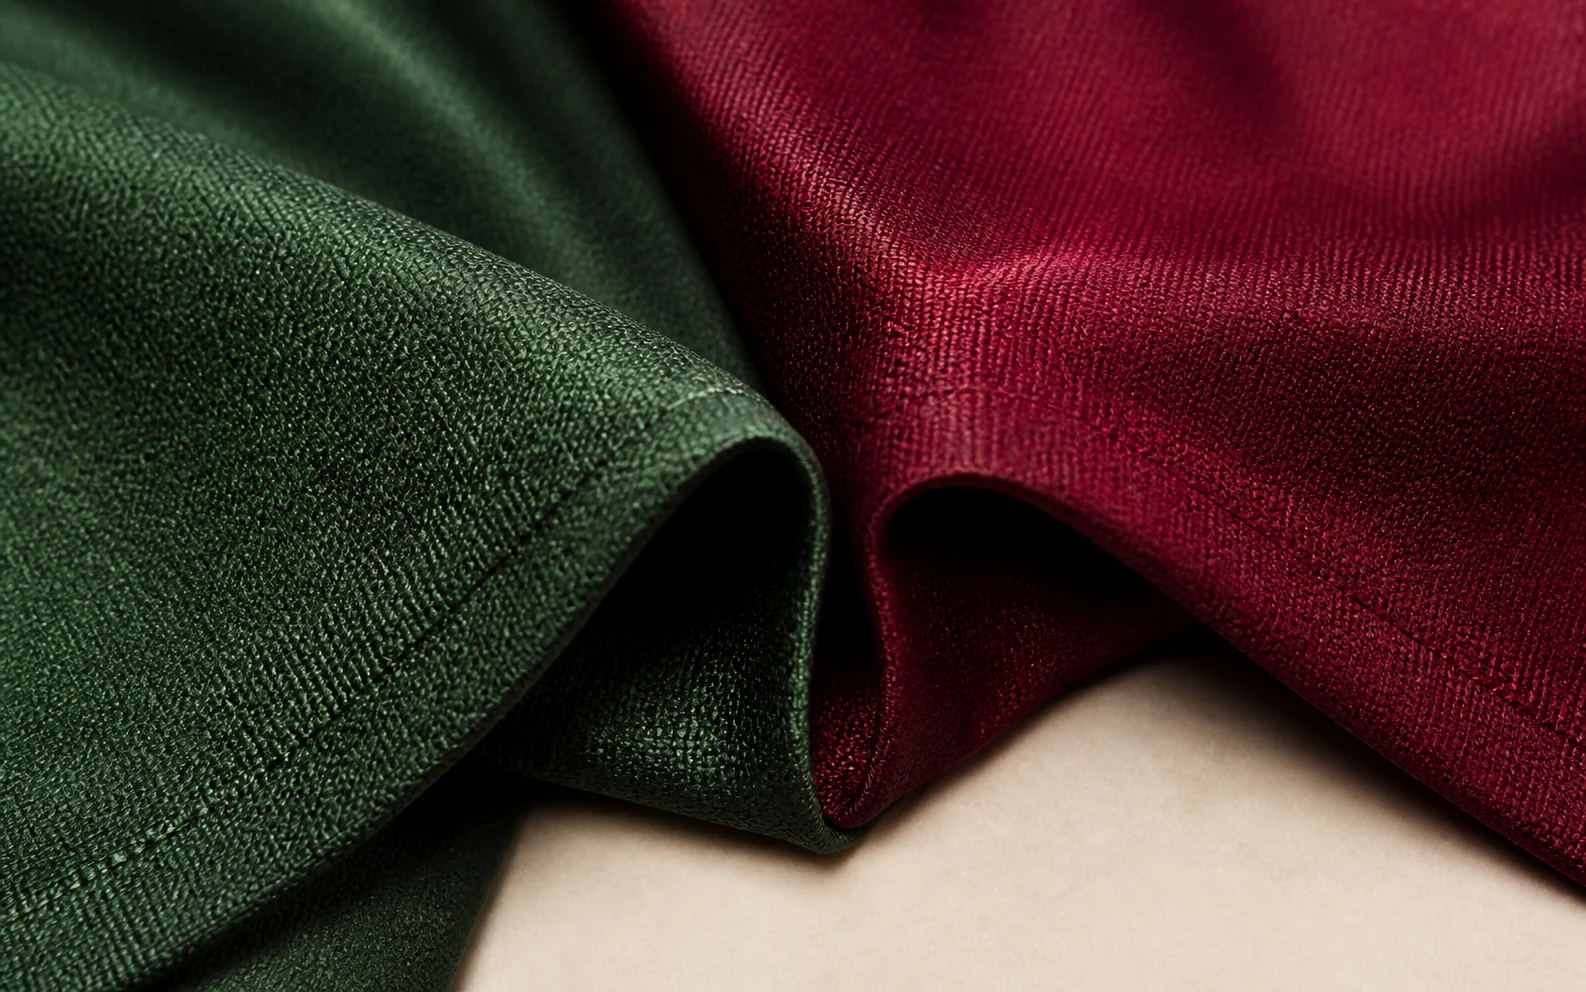
Say ‘the armchair,’ ‘the left kitchen cabinet,’ or ‘the jacket’ in everyday language. Semantic selection helps isolate meaningful objects, including detailed edges that would be slow to trace by hand.
Fabric weave, leather grain, glossy paint, metal reflections, folds, and shadows should survive the color change. The model treats color as part of the photographed material, not as an opaque overlay.
Ask for coral, midnight blue, warm ivory, or a brand color with a hex reference. Descriptive context such as ‘matte,’ ‘satin,’ or ‘metallic’ helps communicate how that color should behave.
A focused prompt tells the change color of image tool to leave faces, backgrounds, composition, typography, and nearby objects untouched. The result stays recognizable and useful for comparison.
The best instruction answers three questions: what changes, what color it becomes, and what must stay the same. Extra visual constraints are useful when a photograph contains similar colors or reflective surfaces.
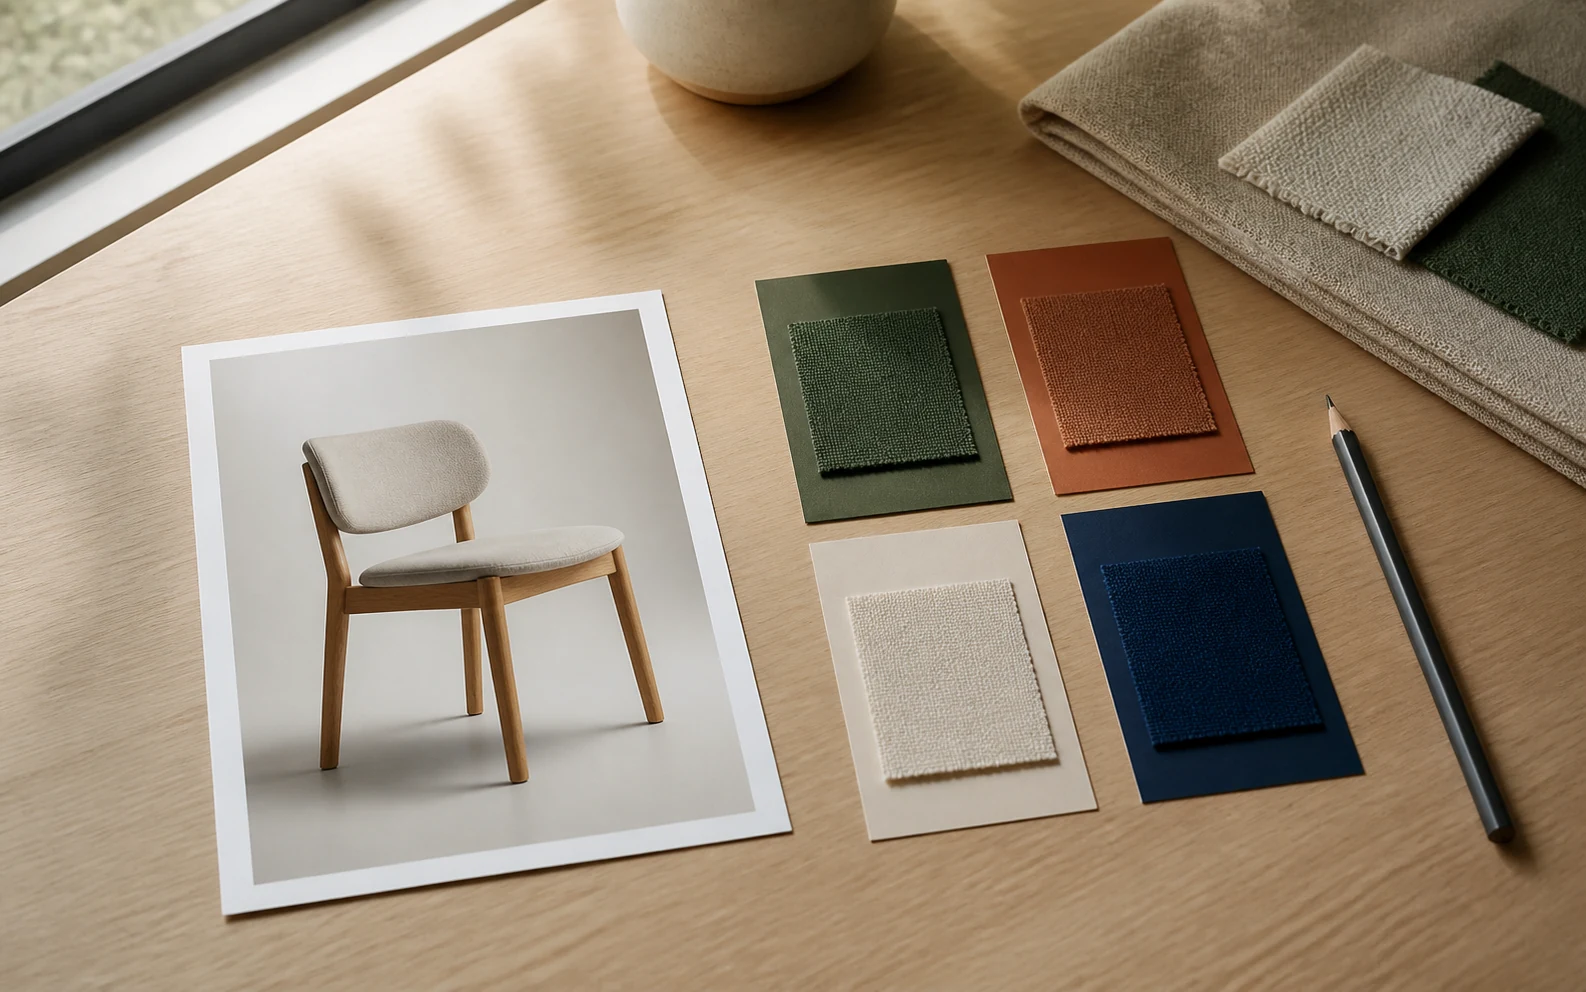
Use position, material, or ownership when needed: ‘the front chair,’ ‘the silk dress,’ or ‘the car body but not the windows.’ A precise subject reduces unwanted changes elsewhere.
A familiar color name is often enough. For brand work, include a hex value as a visual reference and describe the desired warmth, brightness, and finish rather than expecting strict print-color measurement.
Add a short preservation clause: keep the face, logo, stitching, reflections, lighting, background, and composition unchanged. This makes the editing boundary explicit.
When accuracy matters, recolor one main target first, review its edges and texture, then use the result as input for a second object. Smaller instructions are easier to judge and refine.
Change color of image variations to compare an idea, communicate a direction, or publish a fresh asset without rebuilding the whole scene.
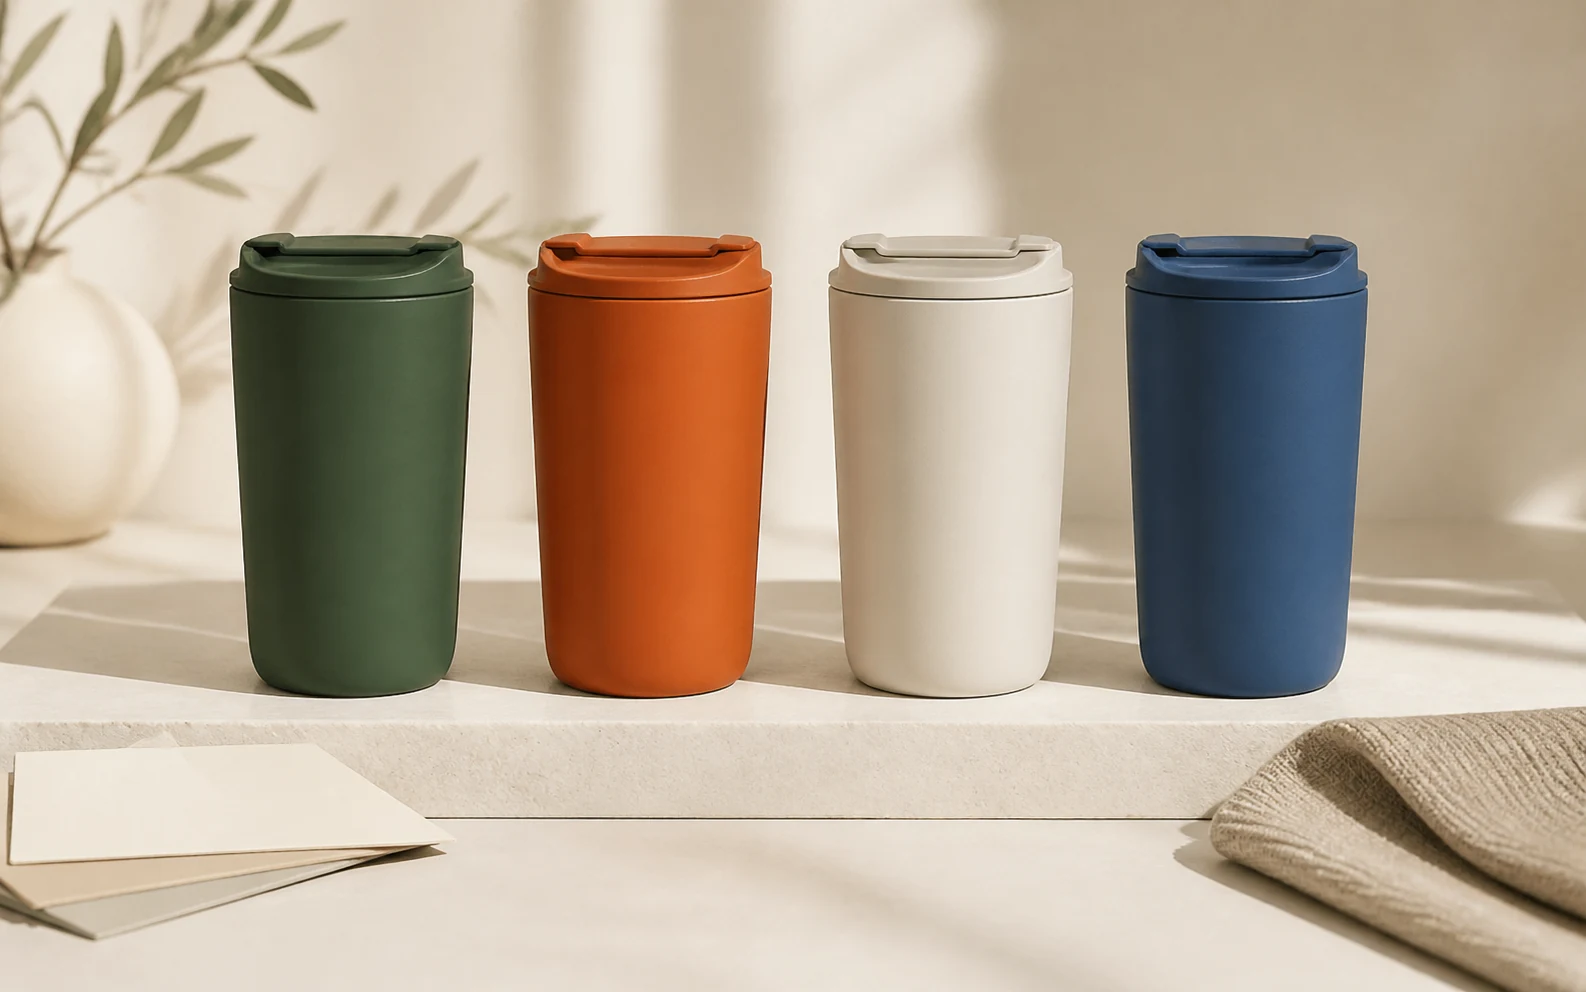
Preview new colorways from one product photograph, build early listing concepts, and align stakeholders before samples or reshoots are ready.
Explore garment colors while preserving the model, silhouette, fabric texture, styling, and studio light that make the original shot valuable.
Test wall paint, upholstery, cabinetry, and decor palettes in the client’s actual room before committing to materials.
Adapt a campaign visual to seasonal palettes, channel themes, or brand systems without rebuilding composition from scratch.
A change color of image result is a photographic interpretation, not a calibrated paint or print proof. Review it in the context where the image will actually be used, and keep the original beside it when exact comparison matters.
A color naturally appears lighter in highlights, darker in shadow, and warmer or cooler under the scene's illumination. A believable result preserves that variation instead of forcing every pixel toward one flat value.
Leather grain, woven fibers, gloss, translucency, and metallic reflections shape how a color reads. Inspect edges and material detail at full size; a perfect swatch is not useful if the surface becomes artificial.
Include a hex code, color name, finish, and brightness direction when consistency matters. Screens, source lighting, and generative interpretation can shift the apparent match, so use a color-managed workflow for production-critical approval.
Practical answers about selective recoloring, output, and what this tool is designed to do.
Upload a JPG, PNG, or WebP, describe the object you want recolored and its new color, then generate. The AI identifies the object and reconstructs its appearance in the requested color while trying to preserve texture, light, shadows, and surrounding content.
Yes. This page is designed for selective recoloring. Name the exact object and add what should remain unchanged. If the scene has several similar objects, identify the target by position, material, or another visible attribute.
You can include a hex code as a color reference and add descriptive terms such as dark, muted, warm, matte, or glossy. Screen rendering, lighting, material, and model interpretation mean the result is a visual match rather than a calibrated print proof.
Yes. Ask for a solid studio background, a colored wall, or another clearly defined backdrop while specifying that the foreground subject must stay unchanged. Detailed scenic background replacement is better handled by a broader image editing workflow.
The model is prompted to preserve texture, highlights, reflections, folds, and shadows. A sharp, evenly exposed source image produces the most convincing result. Very tiny objects, transparent materials, or heavy occlusion can require a second attempt with a more specific prompt.
You can try your first edits without signing up. The generate button shows the credit cost for signed-in users, and the task card keeps each active or completed result available during the workflow.
The upload accepts common web image formats including JPG, PNG, and WebP up to 50 MB. You can preserve the automatic aspect ratio or select a new one, and generate at 1K or 2K resolution.
This page is intentionally narrow: it helps you change color of image objects with a focused prompt and recoloring-specific guidance. For replacing objects, changing outfits, restyling scenes, or combining several different edits, use the broader AI Image Changer. For the complete editing toolkit, open the Editaimg AI Image Editor.
Your next colorway
Upload one photograph, describe one precise change, and create a realistic color variation without manual masking or a new shoot.