How to Replace the Background of a Photo Online (Free)
Need to swap out the background in a photo — a messy room, a plain wall, or just the wrong setting? With AI, you can replace the background of a photo in seconds, without Photoshop skills or manual cutouts. Upload your image, describe what you want, and get a clean result you can download right away.
When would you replace a photo background?
These are the situations where background replacement actually saves time:
ID and passport photos — turn any selfie into a plain white or blue background that meets official requirements.
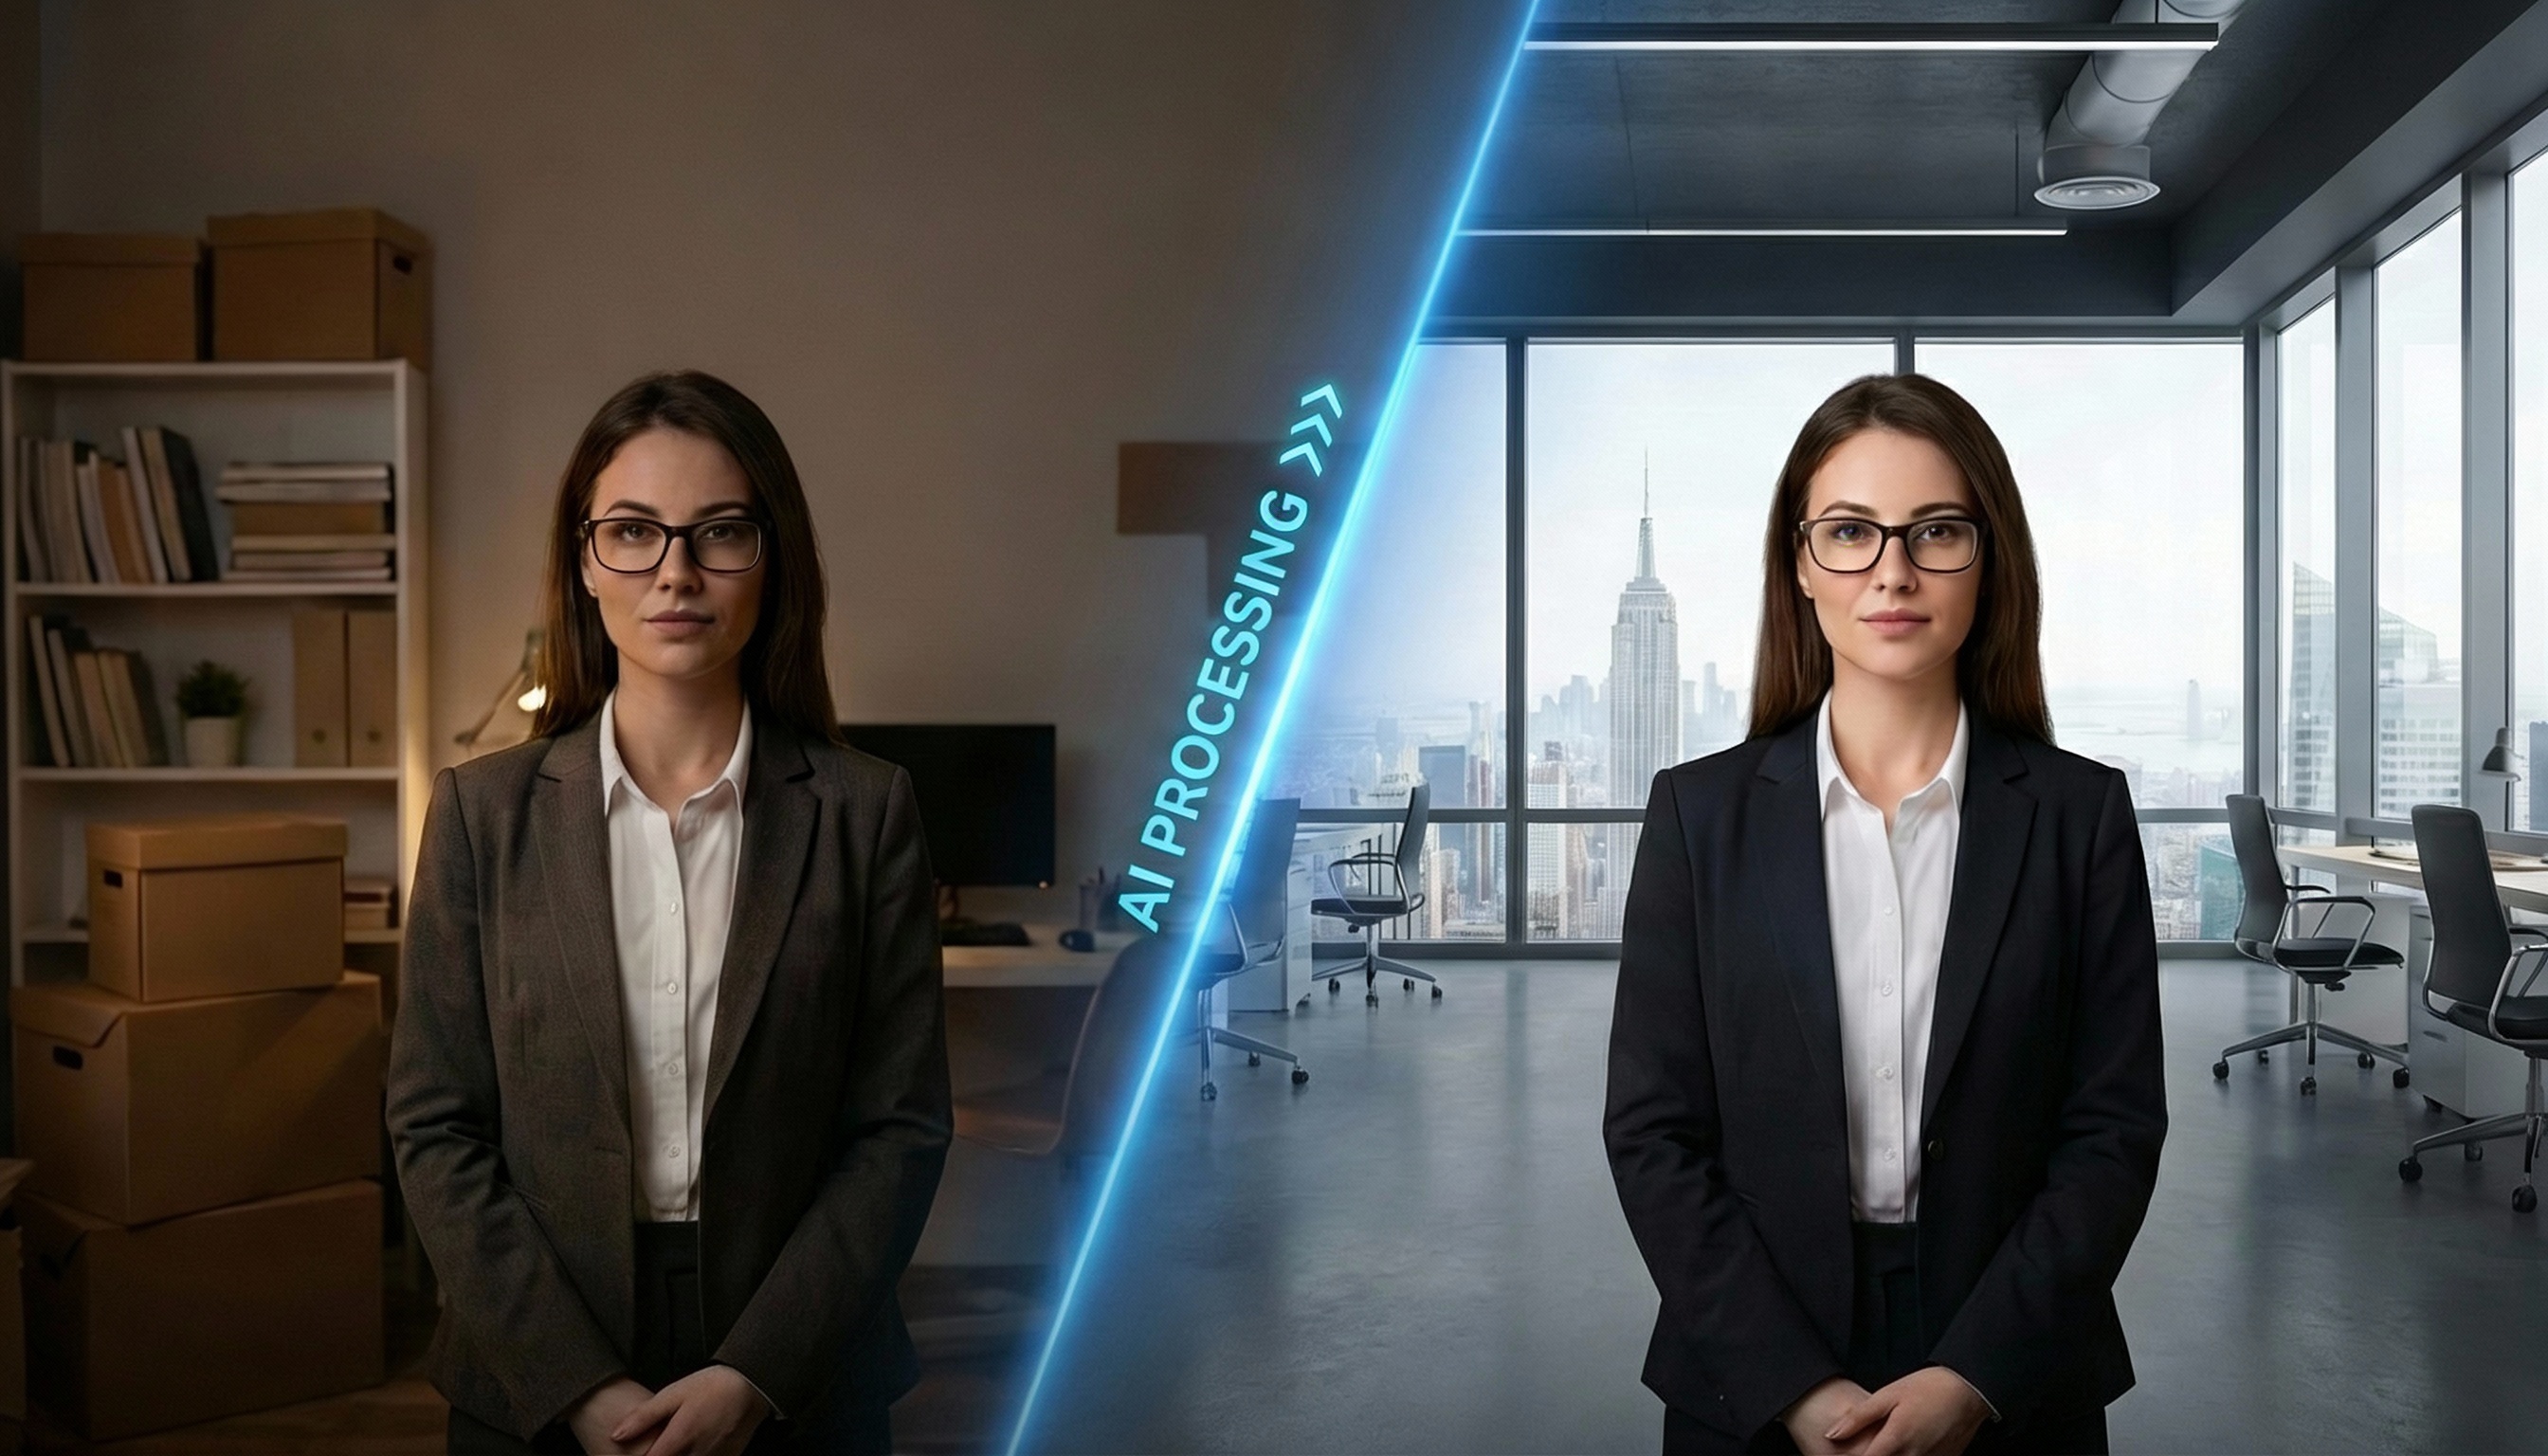
Professional headshots — swap a cluttered home office for a clean studio or neutral gradient.
Product photos — place a product on a white studio background or a lifestyle scene without a new photoshoot.
Personal photos — change a flat or distracting background to something that fits the mood — beach, garden, city, or anything else.
How to replace the background of a photo with Editaimg
Editaimg's AI editor handles the background swap automatically — you don't need to manually select or mask anything.
Step 1: Open Editaimg and upload your photo
Go to Editaimg and upload the photo you want to edit. JPG and PNG both work, up to 50MB.
Step 2: Describe the new background
In the prompt box, type what you want the background to look like. Keep it simple and specific — the clearer you are, the better the result:
For ID photos: "plain white background, clean edges"
For headshots: "neutral light gray studio background, soft even lighting"
For products: "white studio background, subtle shadow under the product"
For personal photos: "sunset beach background, warm light, slightly blurred"
Add "keep the subject unchanged" to make sure the AI focuses only on the background.
Step 3: Generate and download
Click Generate. The AI will detect the subject, remove the original background, and place the new one — with lighting and edges matched automatically. Download the result in high resolution when you're happy with it.
If the first result isn't quite right, adjust one detail in your description and generate again. It usually takes one or two tries for portraits with complex hair.
Tips for better results
Start with a clear photo
Higher resolution photos give the AI more detail to work with around hair, clothing edges, and fine textures. Blurry or very compressed images produce messier edges.
Describe both the scene and the light
A good background description includes what the scene is and what the lighting feels like. "White background" works, but "white studio background with soft diffused light" gives a more realistic result.
Be specific about what should stay the same
If you're editing a headshot, say "keep the subject's face, hair, and clothing exactly the same." This prevents the AI from making unintended adjustments to the person or product.
For portraits: mention hair edges
Hair is the trickiest part of any background swap. Add "clean edges around hair, no halo effect" to your description if the subject has detailed or curly hair.
FAQ
Is it free to replace a background with Editaimg?
Yes — Editaimg offers a free tier you can use to try background replacement without signing up or paying. Credits are available if you need higher volume or resolution.
Does it work on mobile?
Yes. Editaimg runs in the browser, so it works on iPhone and Android without any app download.
Can it handle hair and fine edges?
Generally yes. For best results with complex hair, use a higher-resolution input photo and mention edge quality in your prompt. Some iteration is normal for very detailed hair.
What file formats does it support?
Editaimg accepts JPG and PNG, and exports in JPG or PNG at up to 4K resolution.
Can I replace the background of a product photo without changing the product?
Yes — include "keep the product exactly as it is, only replace the background" in your prompt. This works well for e-commerce images where label accuracy matters.
What if the result doesn't look right?
Adjust one part of your description and generate again. The most common issues are lighting mismatch (specify the light direction) and floating subjects (ask for "realistic shadow under the subject").
🖼️ Replace a Photo Background Free
Upload your photo, describe the new background, download in seconds. No Photoshop needed.